
Drag & Drop Email Builder
In this post we will explore Member Owl’s drag and drop email builder. Before we do, you should know that Member Owl provides a set of pre-designed templates for the most common emails (e.g. billing failed, credit card expiring, membership expiring…). You can use the template as a starting point and then edit it for your needs. In addition, these email can be automated using Member Owl’s powerful automation feature.
Starting A New Builder Document
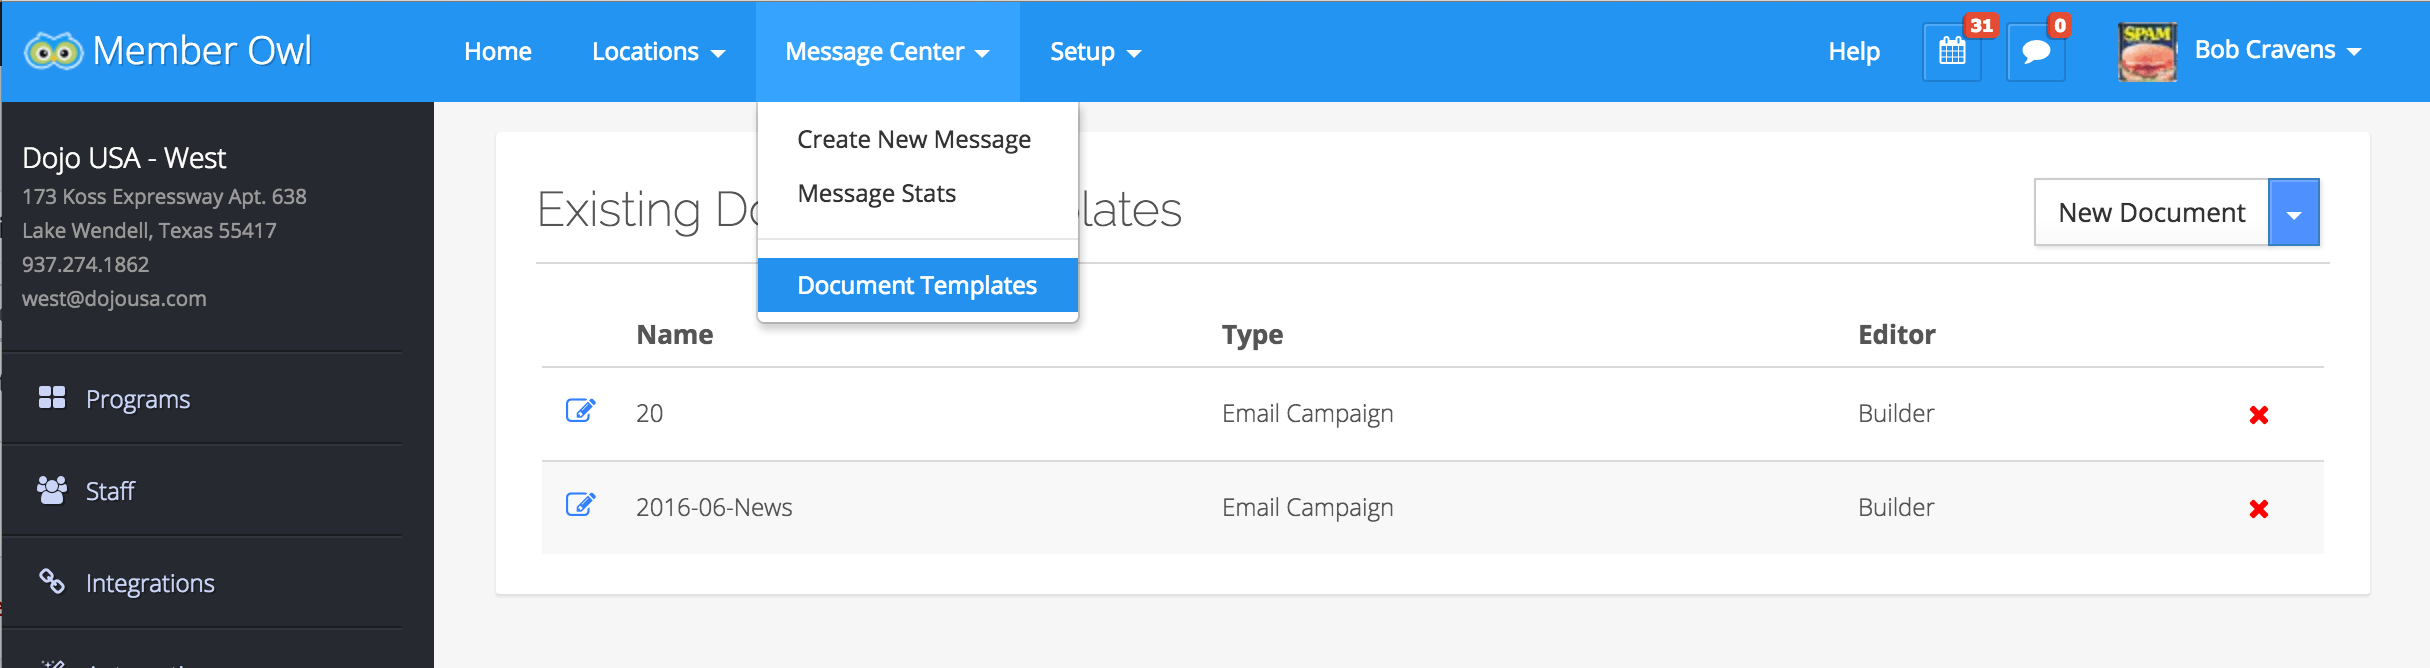
To get started click the Message Center -> Document Templates option in the top navigational menu.
Then select the New Document drop down to expose the options:
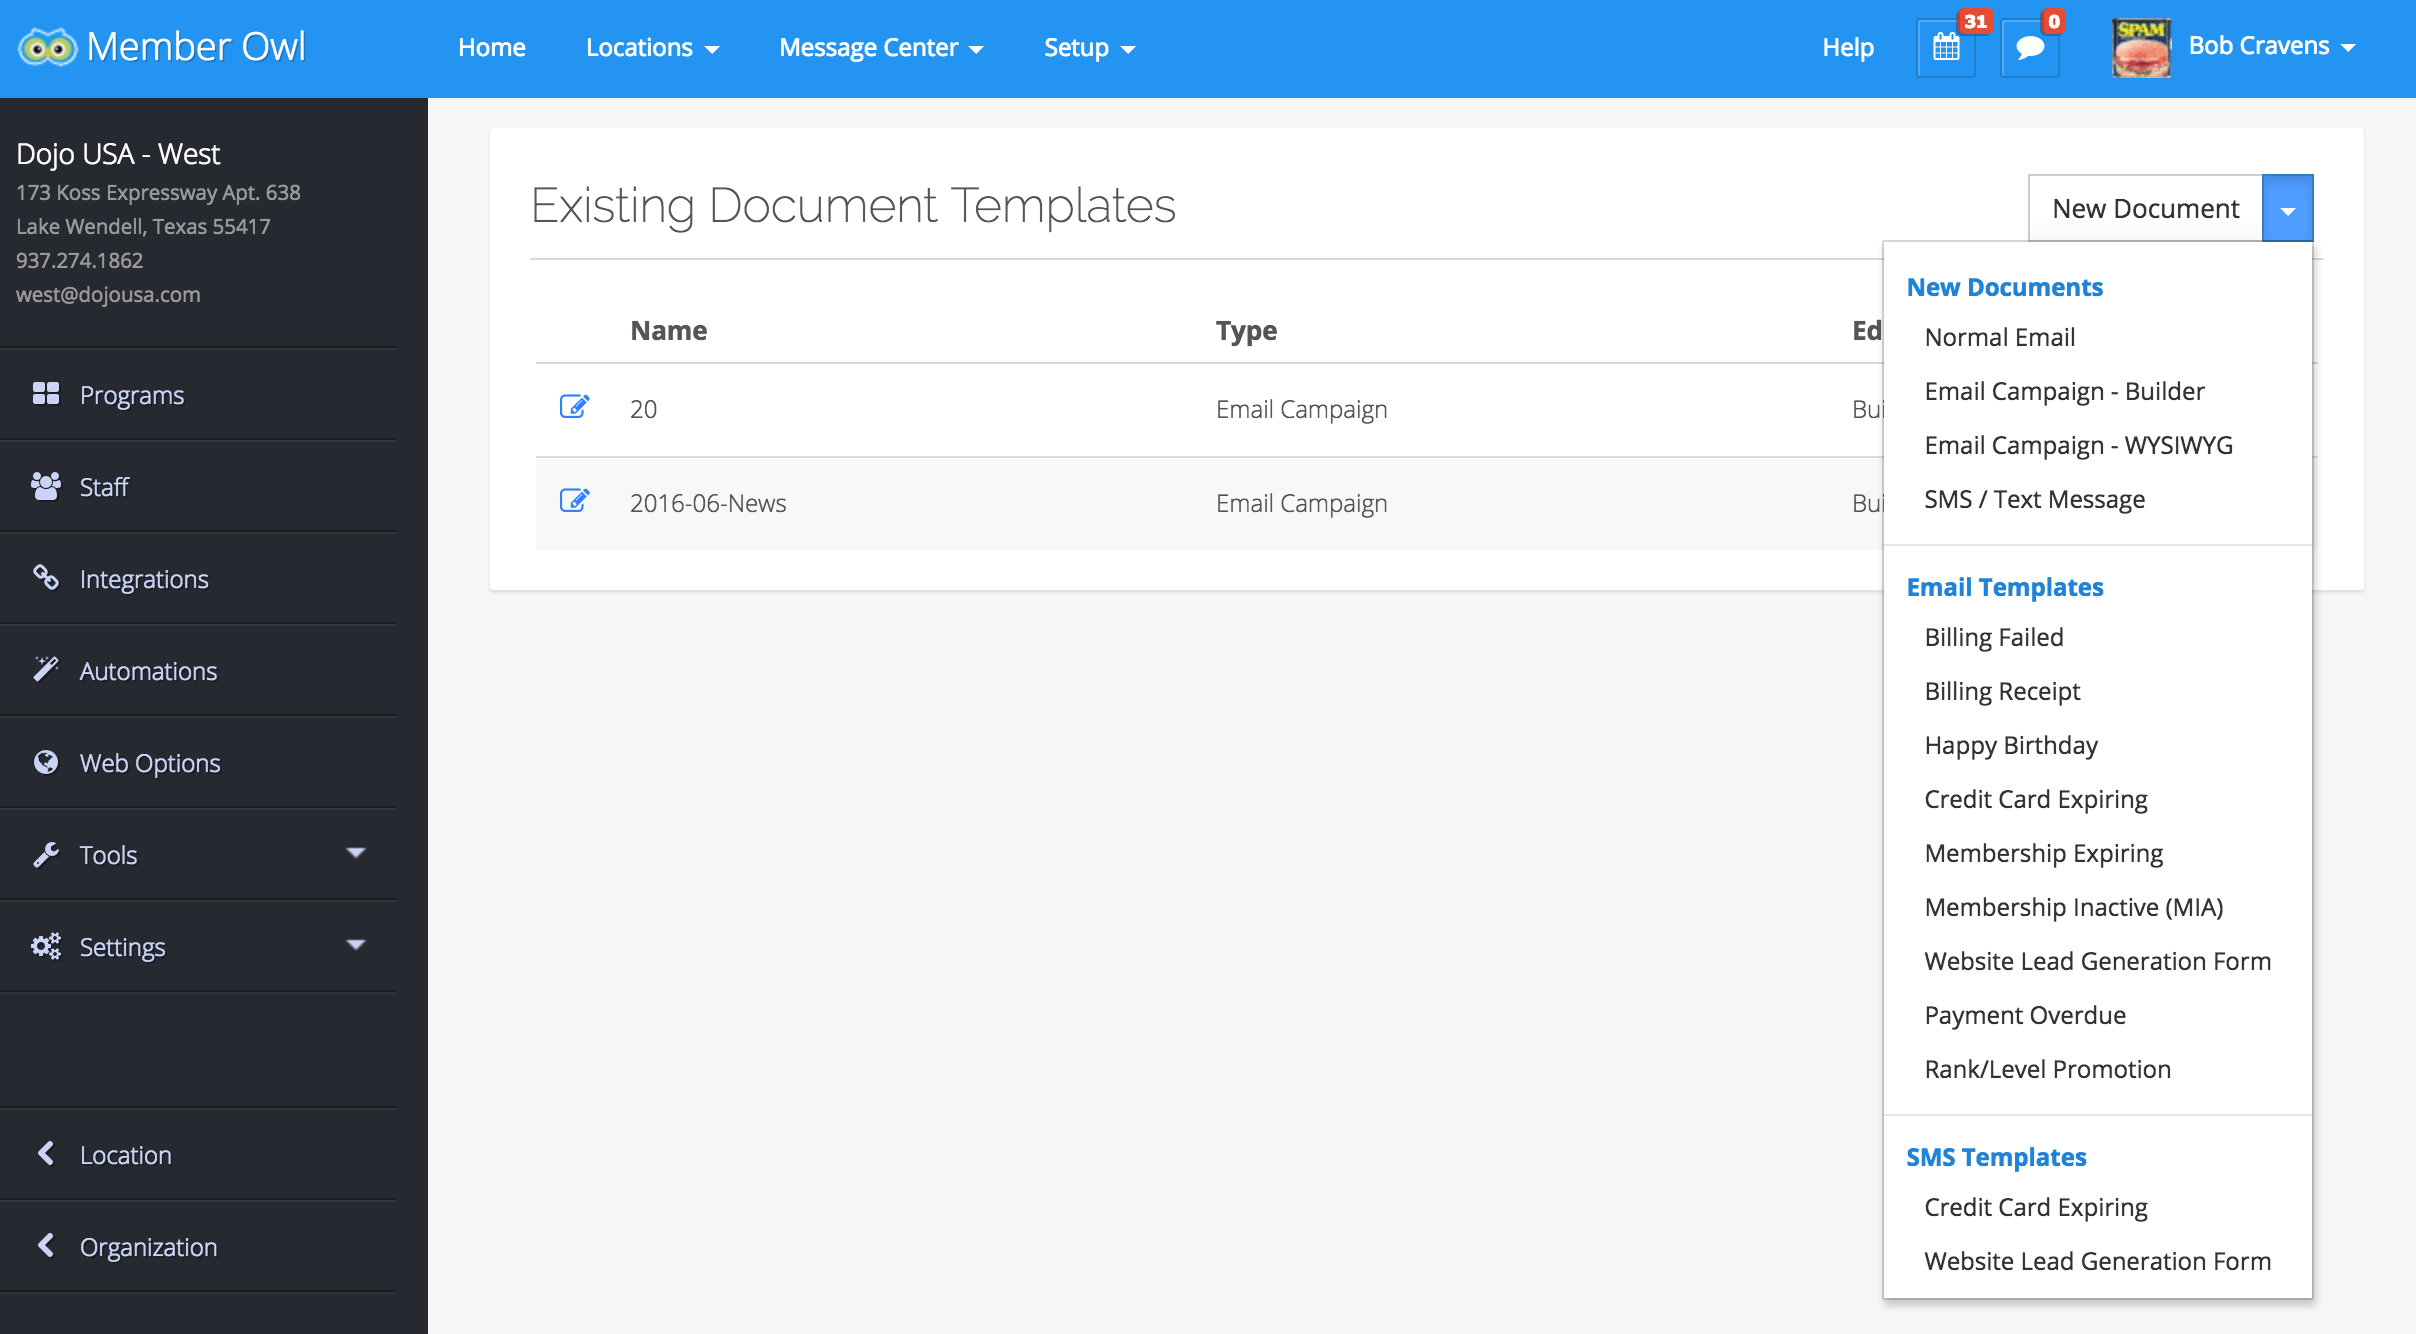
Here you can see the available email template options. At the top you see the options to create new (or blank) documents. We are going to create an email campaign using the drag-n-drop builder. Click the Email Campaign – Builder option. BTW, the WYSIWYG option provides the traditional low-level editor that you can use to build anything. As you will see the builder provides an easier way to create emails using canned components.
Getting to Know the Builder
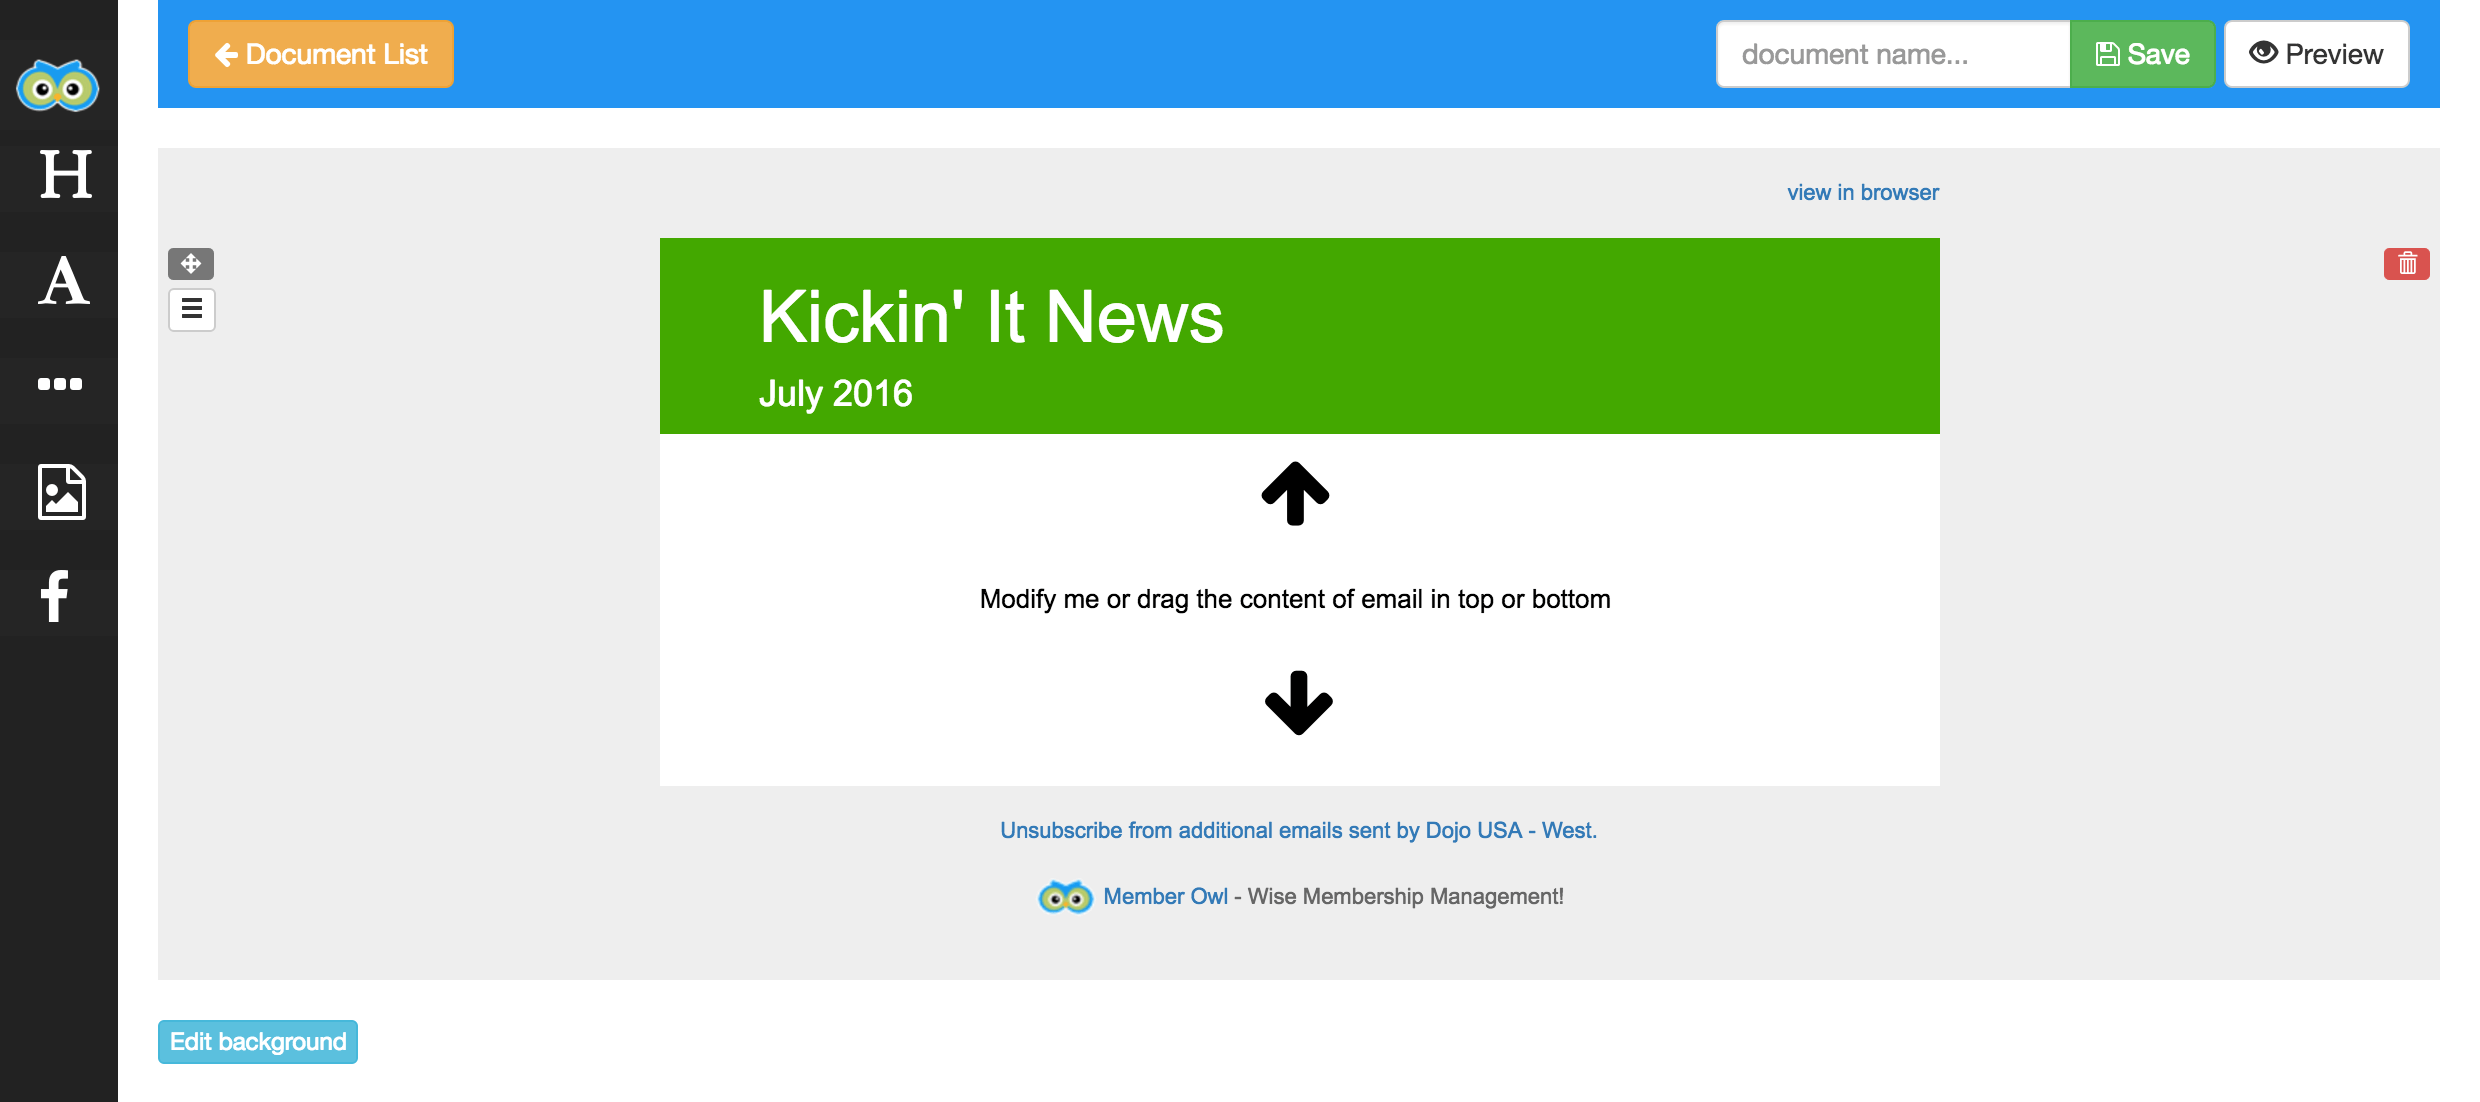
When you load the build you will see the following:
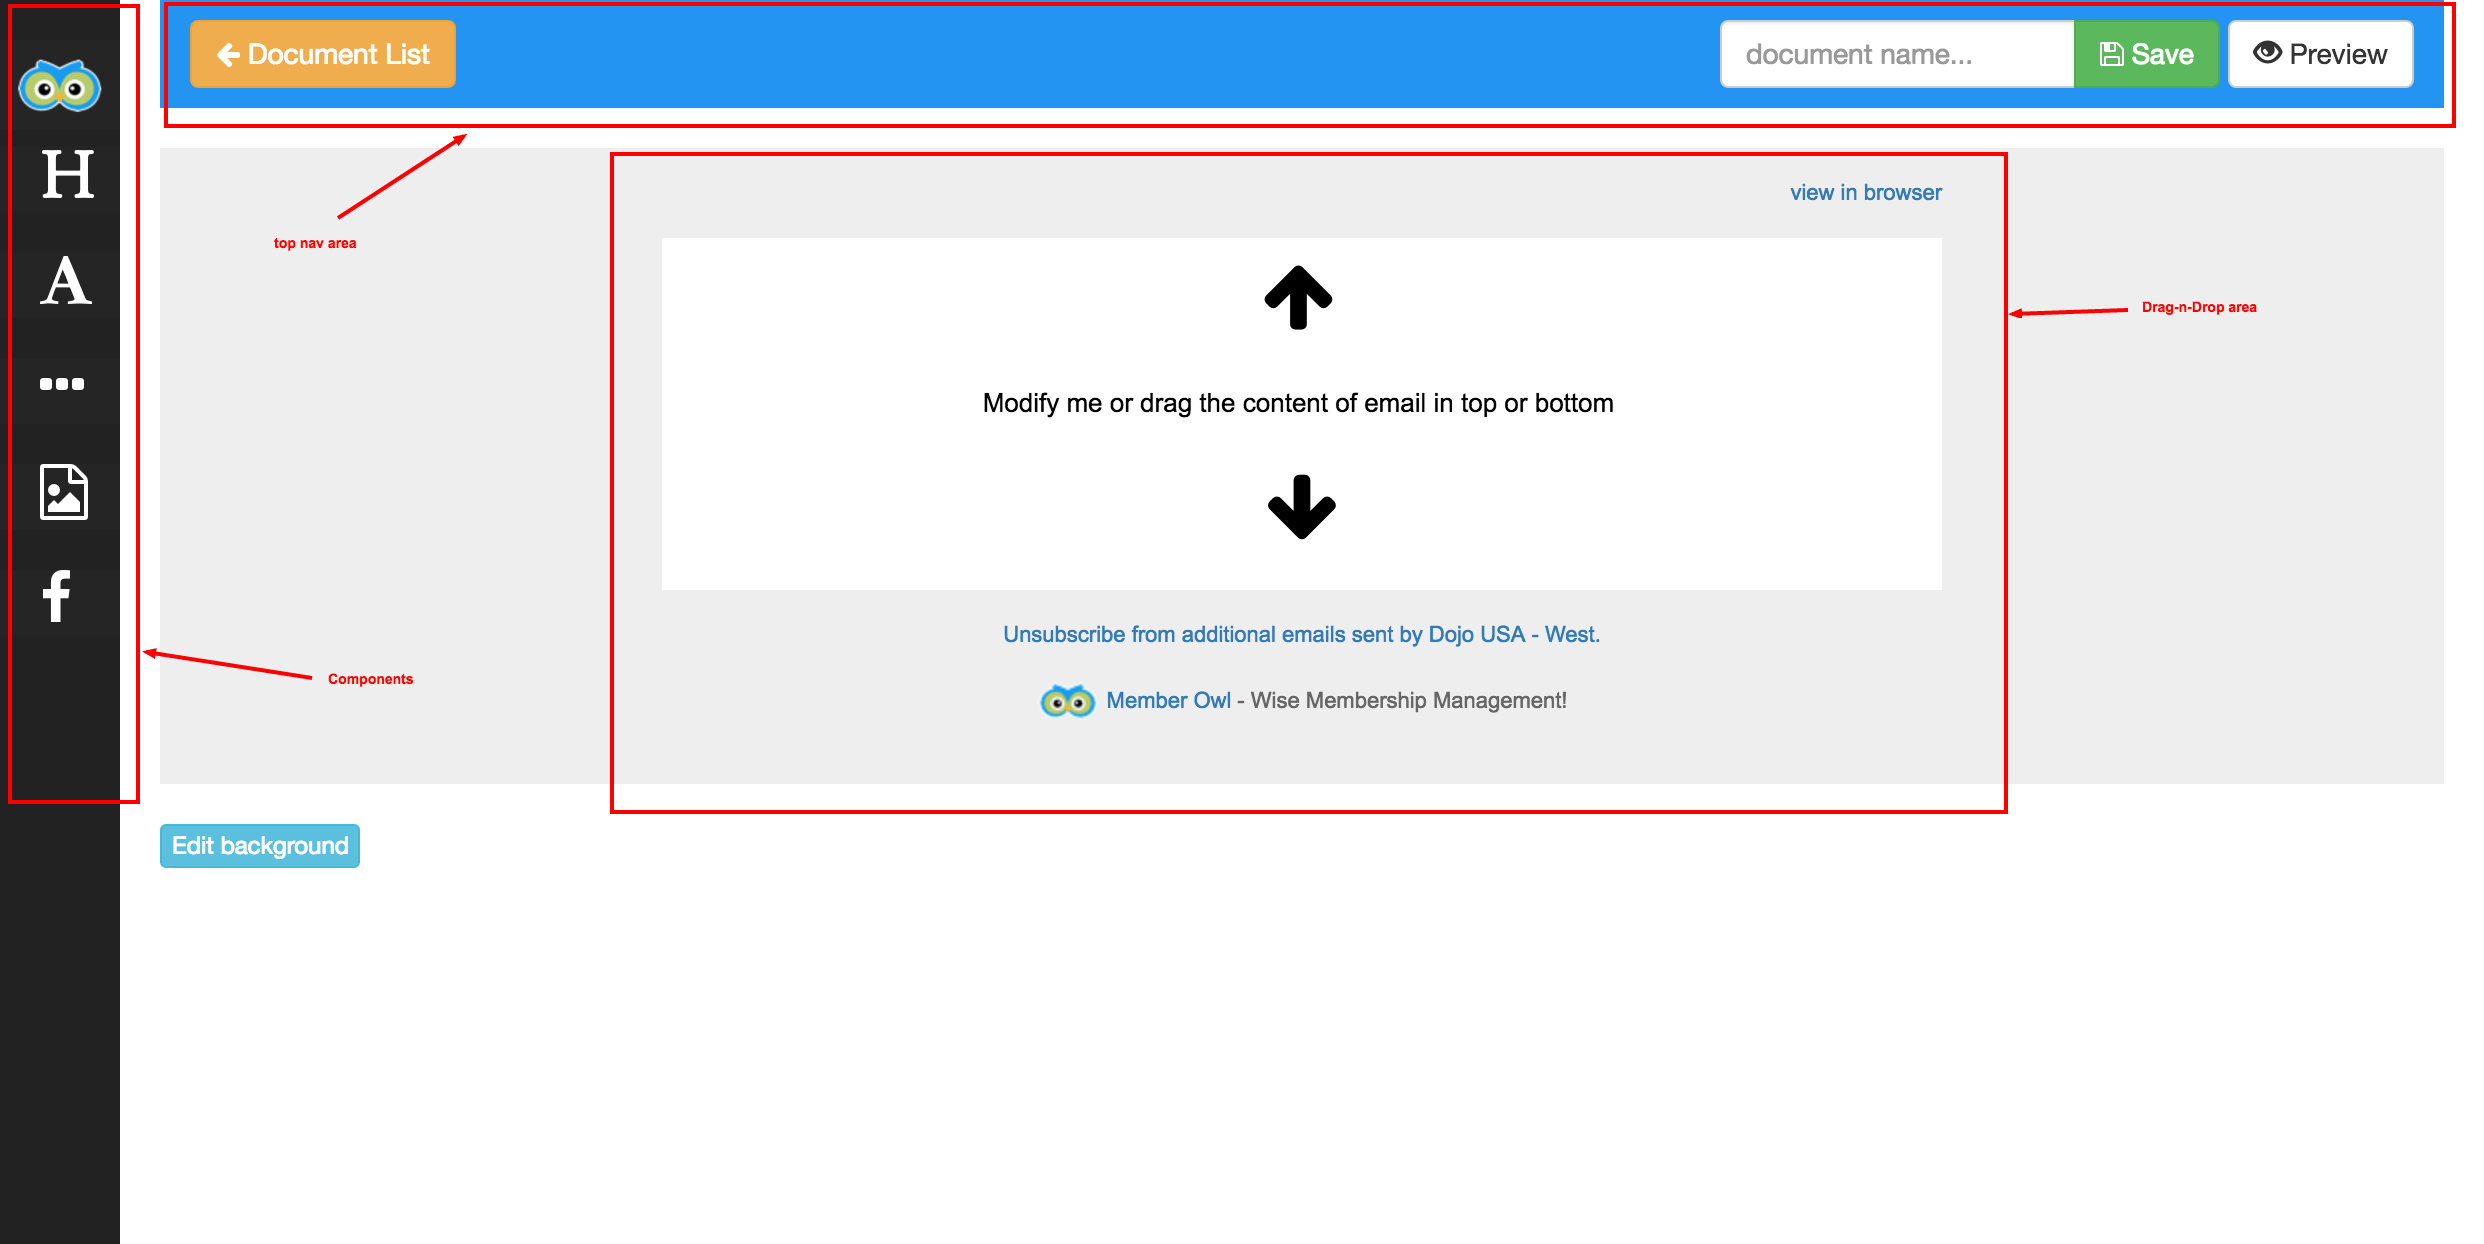
There are four areas:
- Components Menu (left hand side) – Allows you to select a component category. Available categories currently are: header, text, miscellaneous, images and social.
- Top Nav Area (top menu bar) – Allows options to save, preview and navigate back to the Member Owl documents.
- Drag-N-Drop Area or Work Area (main area) – Components from the component menu can be dragged and dropped into the main area.
- Component Editor (not shown but is along the right hand side when you select a component) – Allows editing of component properties.
Selecting a component category from the Component Menu then displays a slide out panel of available components. Here is a screenshot of the image components:

As you can see there are currently 6 image components that provide various layout options.
The Building Process
The building process involves the following steps:
- Select a component category from the left side bar.
- Select an available component for that category.
- Drag it out into the work area and drop it into the document in the desired position. You can always move the component up/down later or even delete it.
- Select the component in the work area to show the component editor.
- Edit the properties (e.g. text, background color, font color…etc) of the component.
- Repeat steps 1-5 until all the component are in place.
An Example
Let’s go through an example building process. We will be going through the process of creating a email newsletter. First, I will drag out a new header. My document now looks like this:

I can close the component slide out menu. Now click the new header component in the work area. The component editor now shows up:
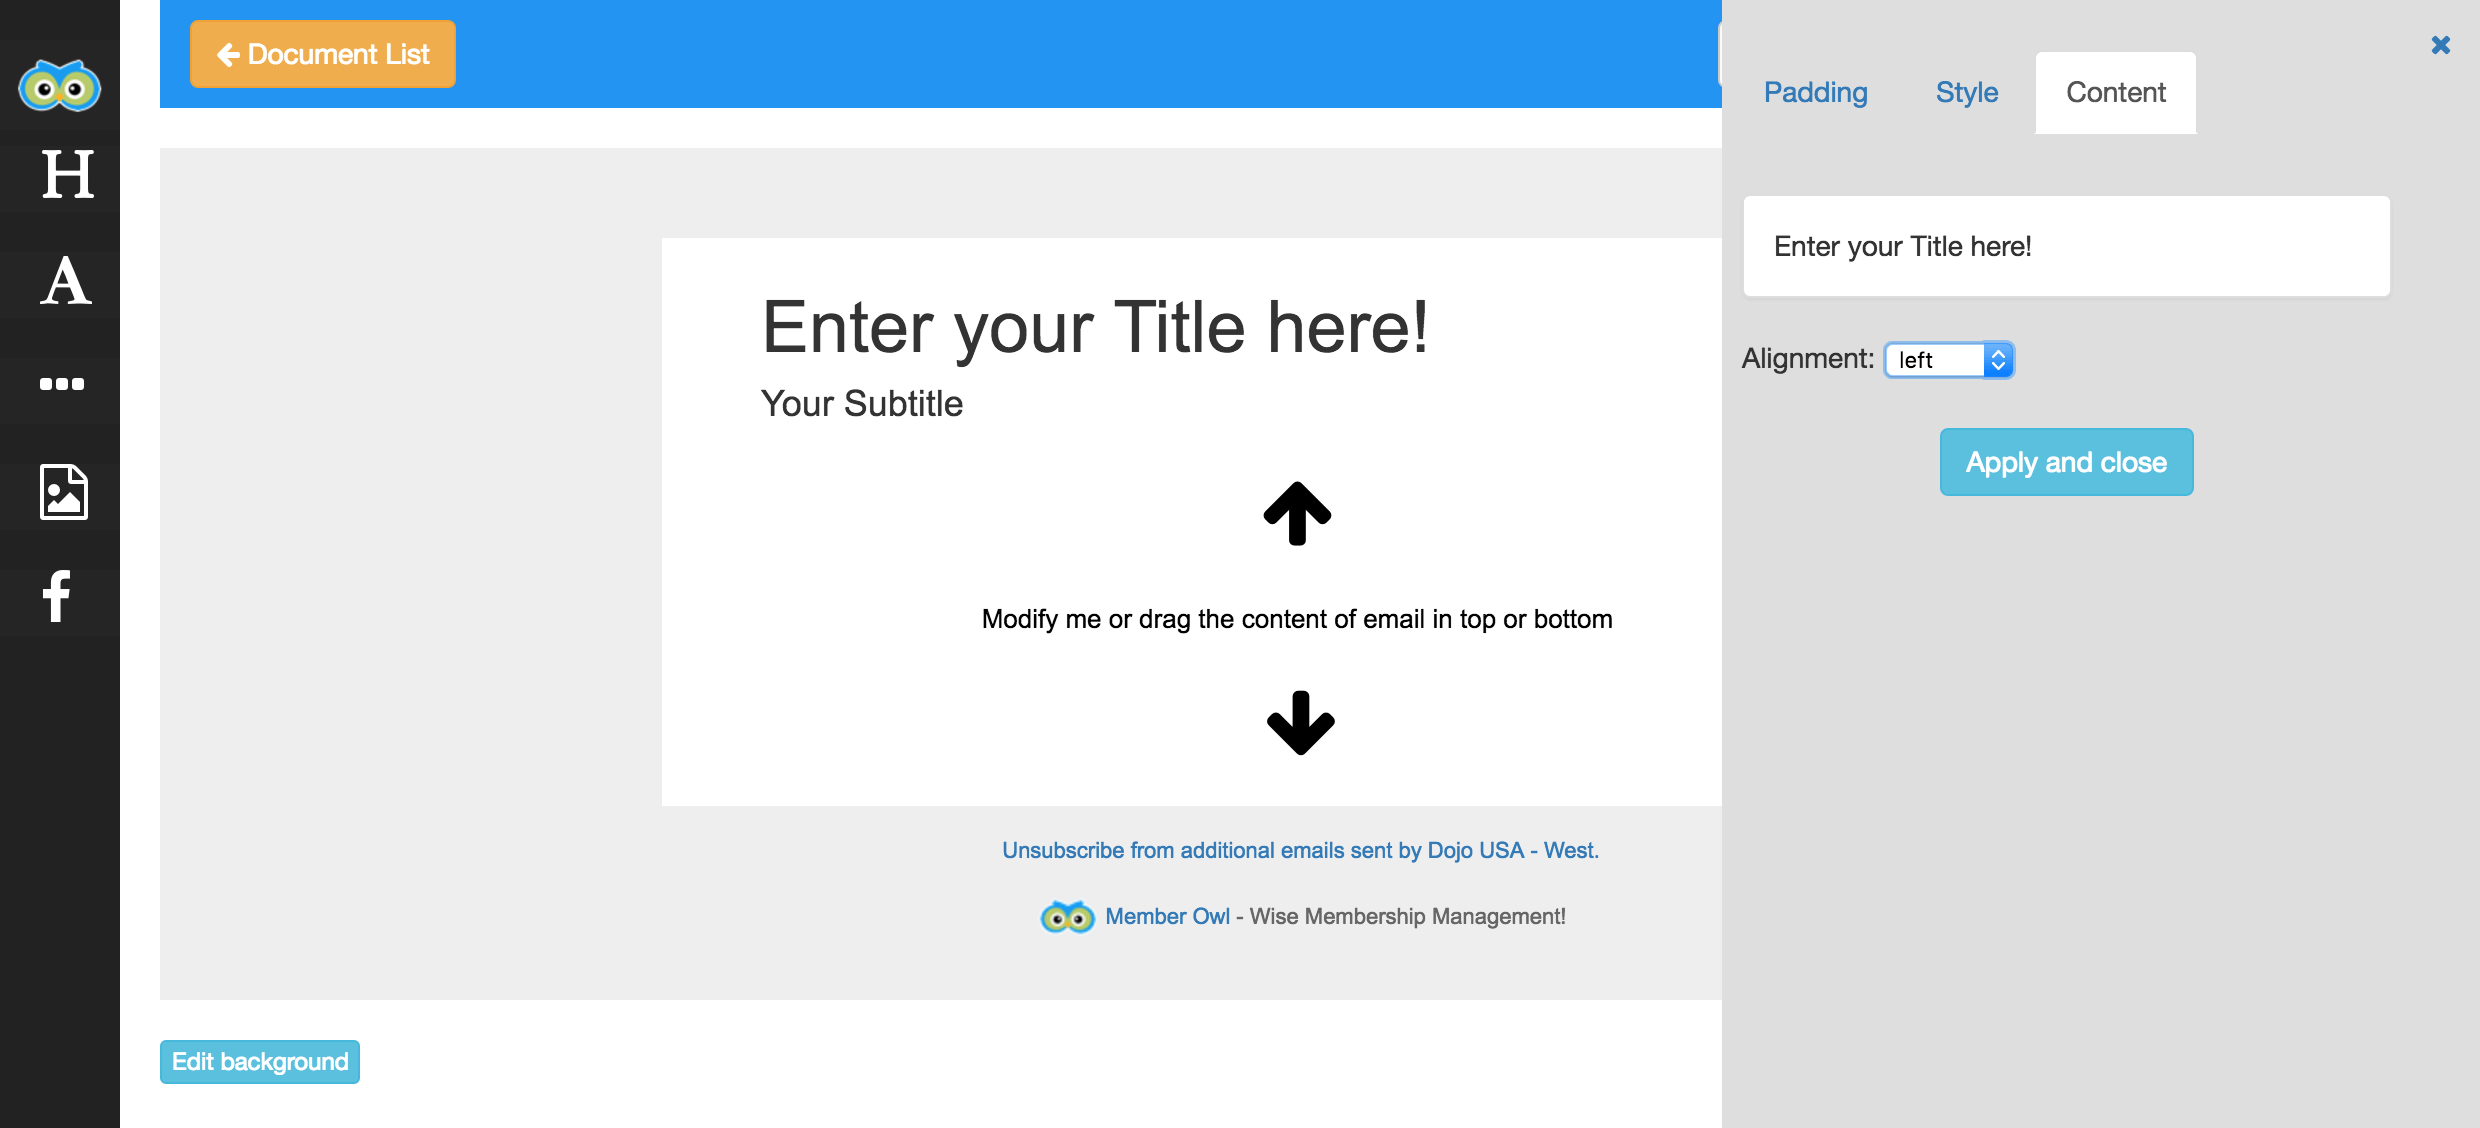
Now you can edit the properties (padding, style, content) for the header component. After I am done editing mine now looks like this:
Beyond setting the textual content, I set the background and foreground colors.
Next, I am going to repeat this process for a few other components. After only a few minutes I was able to create the following:
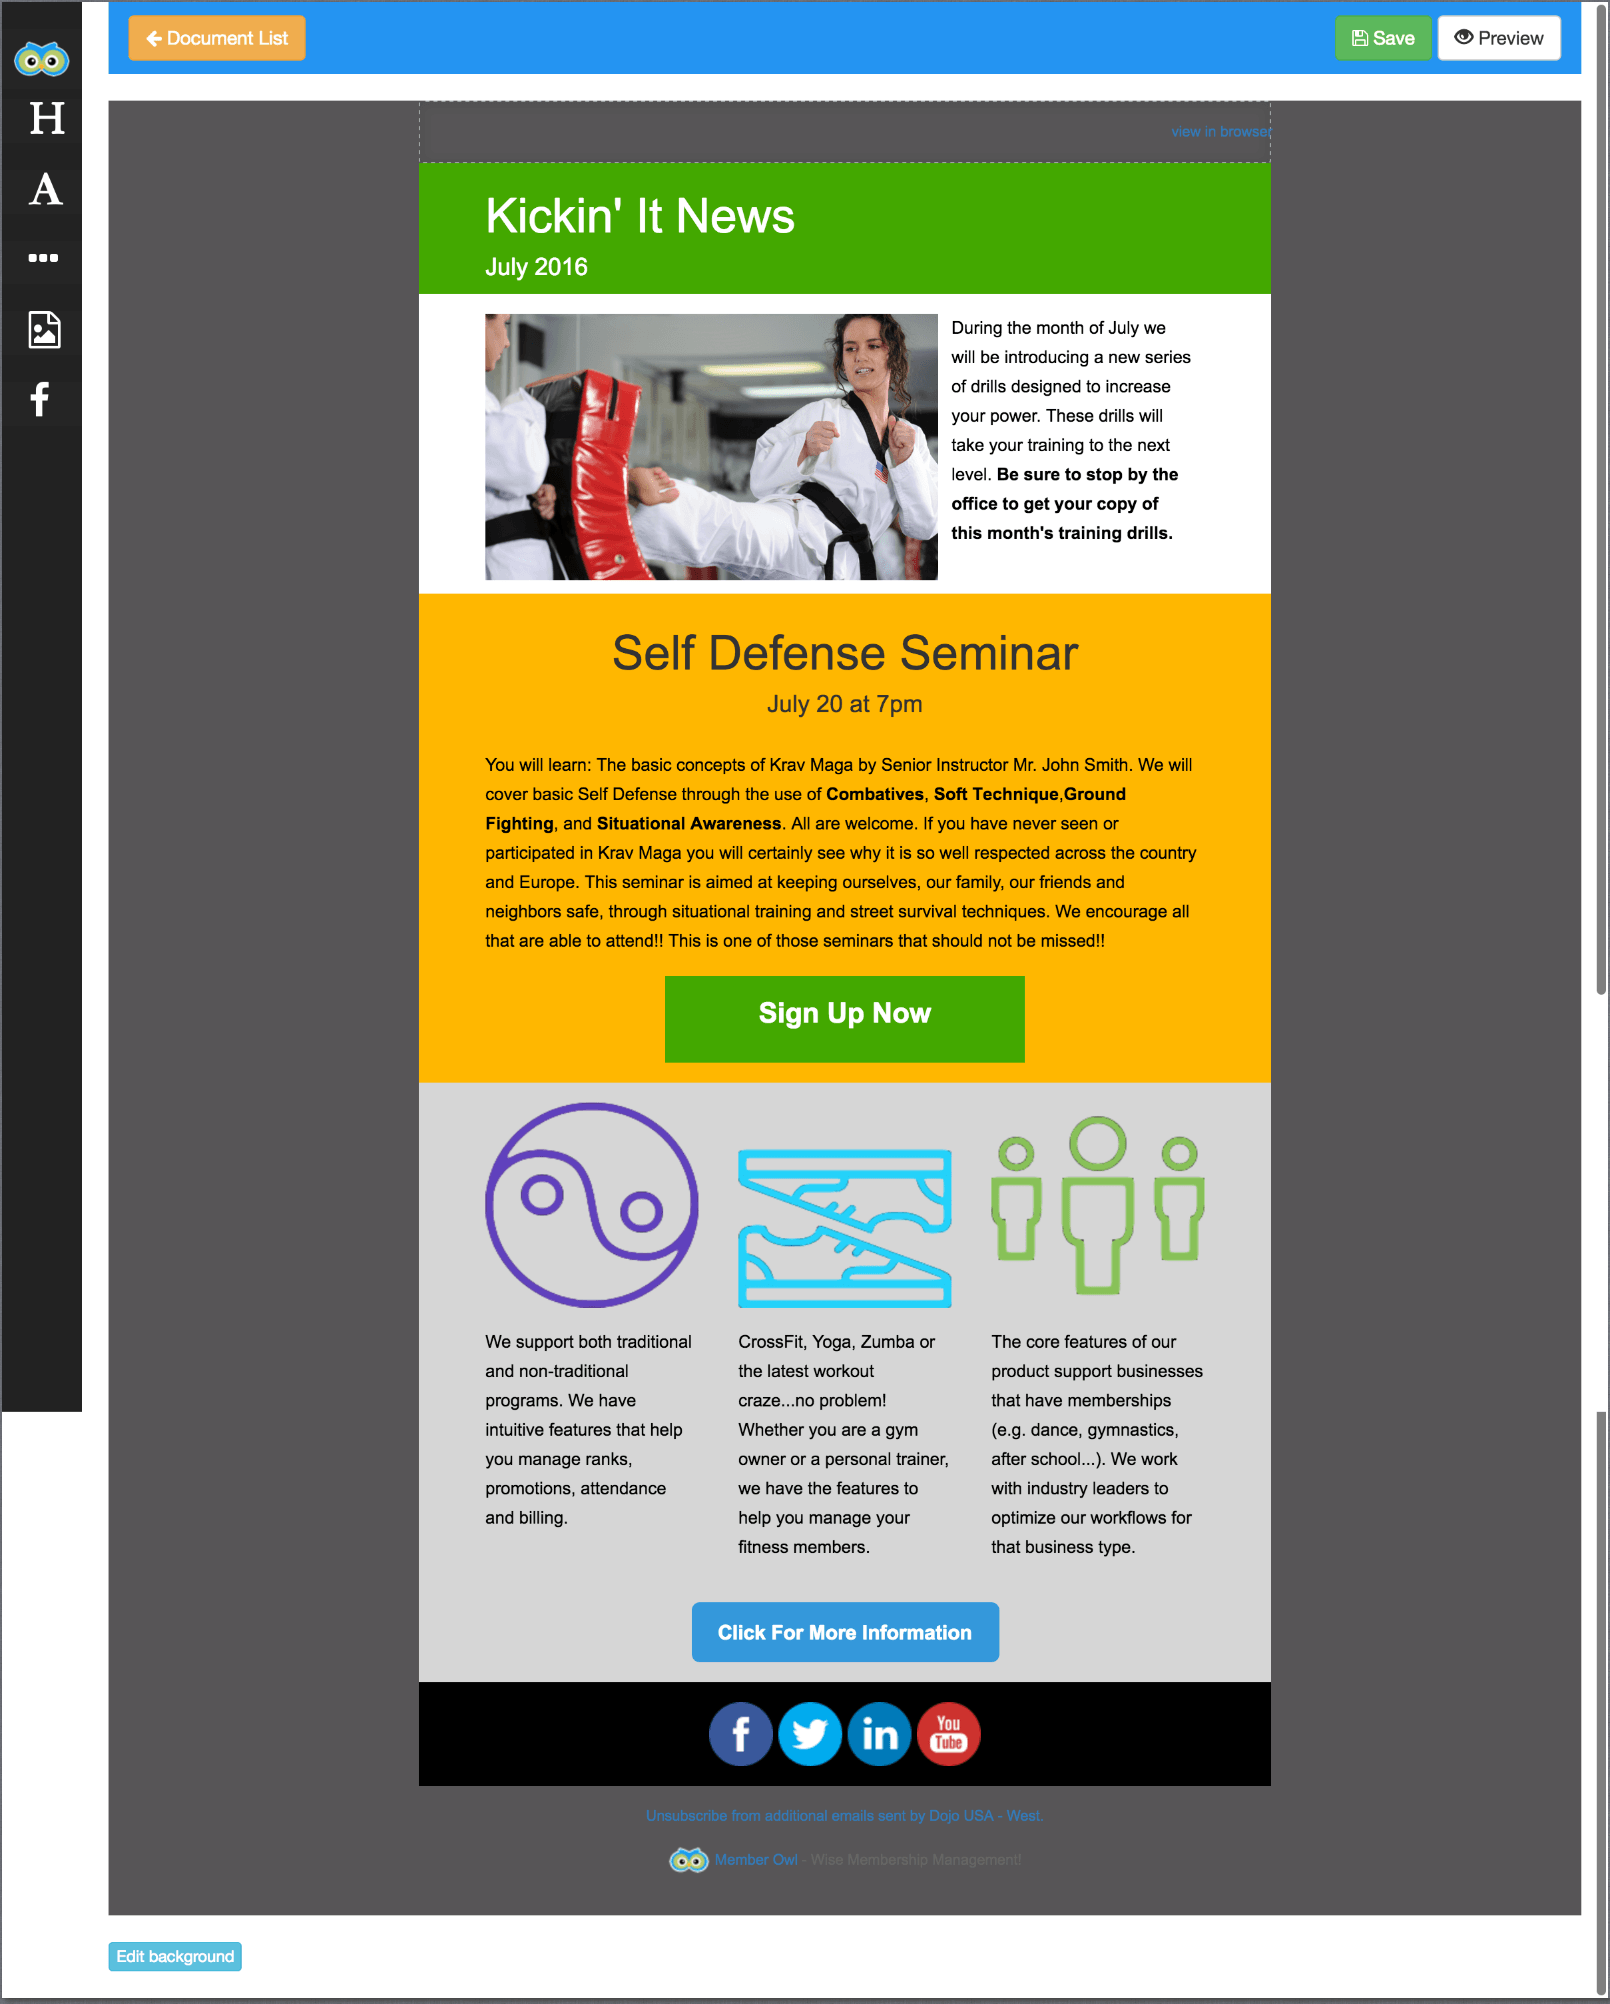
During the configuration of the components you not only create the custom design (content, layout, look and feel) but you can set the links for buttons.
As you can see building the document was easy. In a later post, I’ll show you how to use Member Owl’s message center feature to send this new document out to your clients.
Email Quality & Testing
The components that you use to create your email in the document builder have been test by Litmus and Email on Acid to ensure that what you see in the builder is what your recipients see in the email client.
This is an important quality assurance measure and means you don’t have to worry about deliverability.
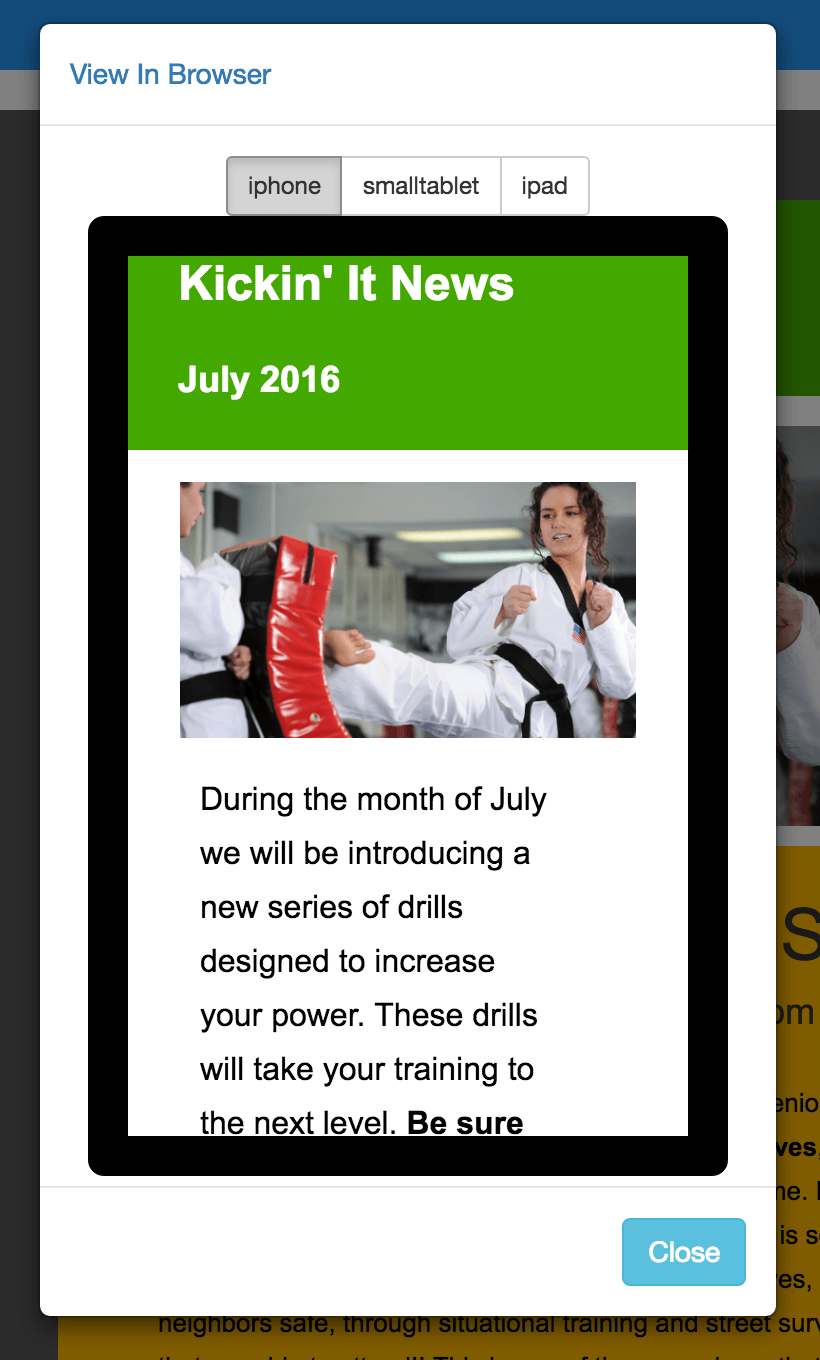
Phone, Small Table, Large Table Support
In addition to providing the quality and testing for various email clients, the components are designed to be adaptable or provide a responsive design to support various screen sizes. You can even preview how your design looks:
Saving and Editing
That’s it for now. Be sure to enter a name in the top menu area and click the Save button. Then you will see the document you’ve just created in the list:
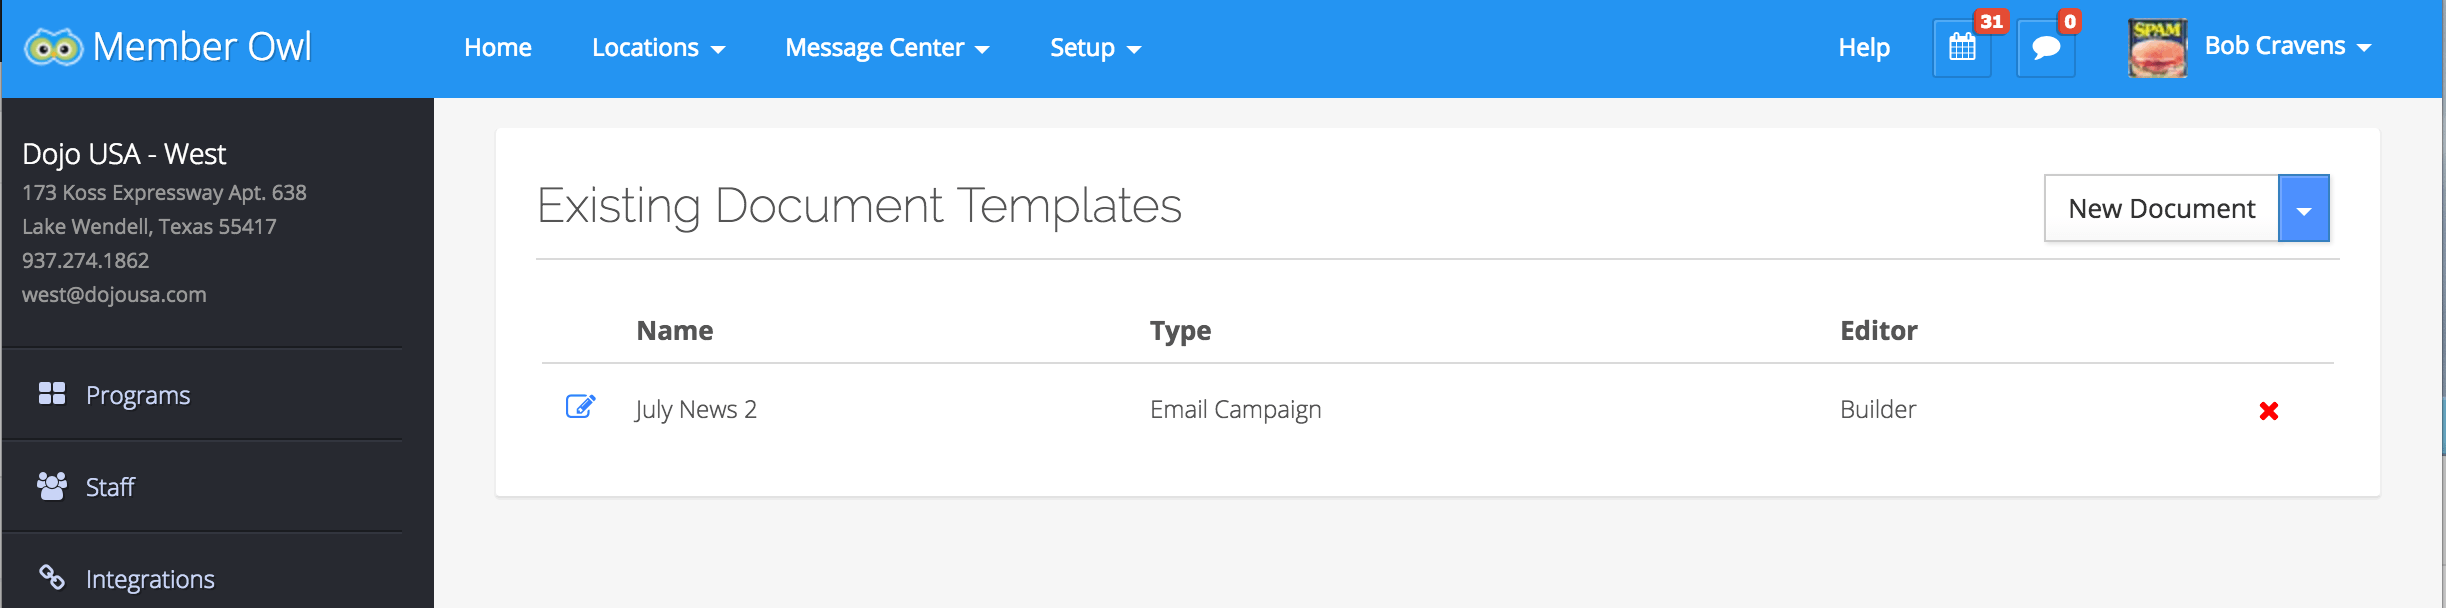
Here you can click the edit button to take you back to the builder if you want to modify your design.
Final Thoughts
In a future post, I will show you how to use Member Owl’s message center to send this document to your clients. For now, here is what it looks like in my email client:
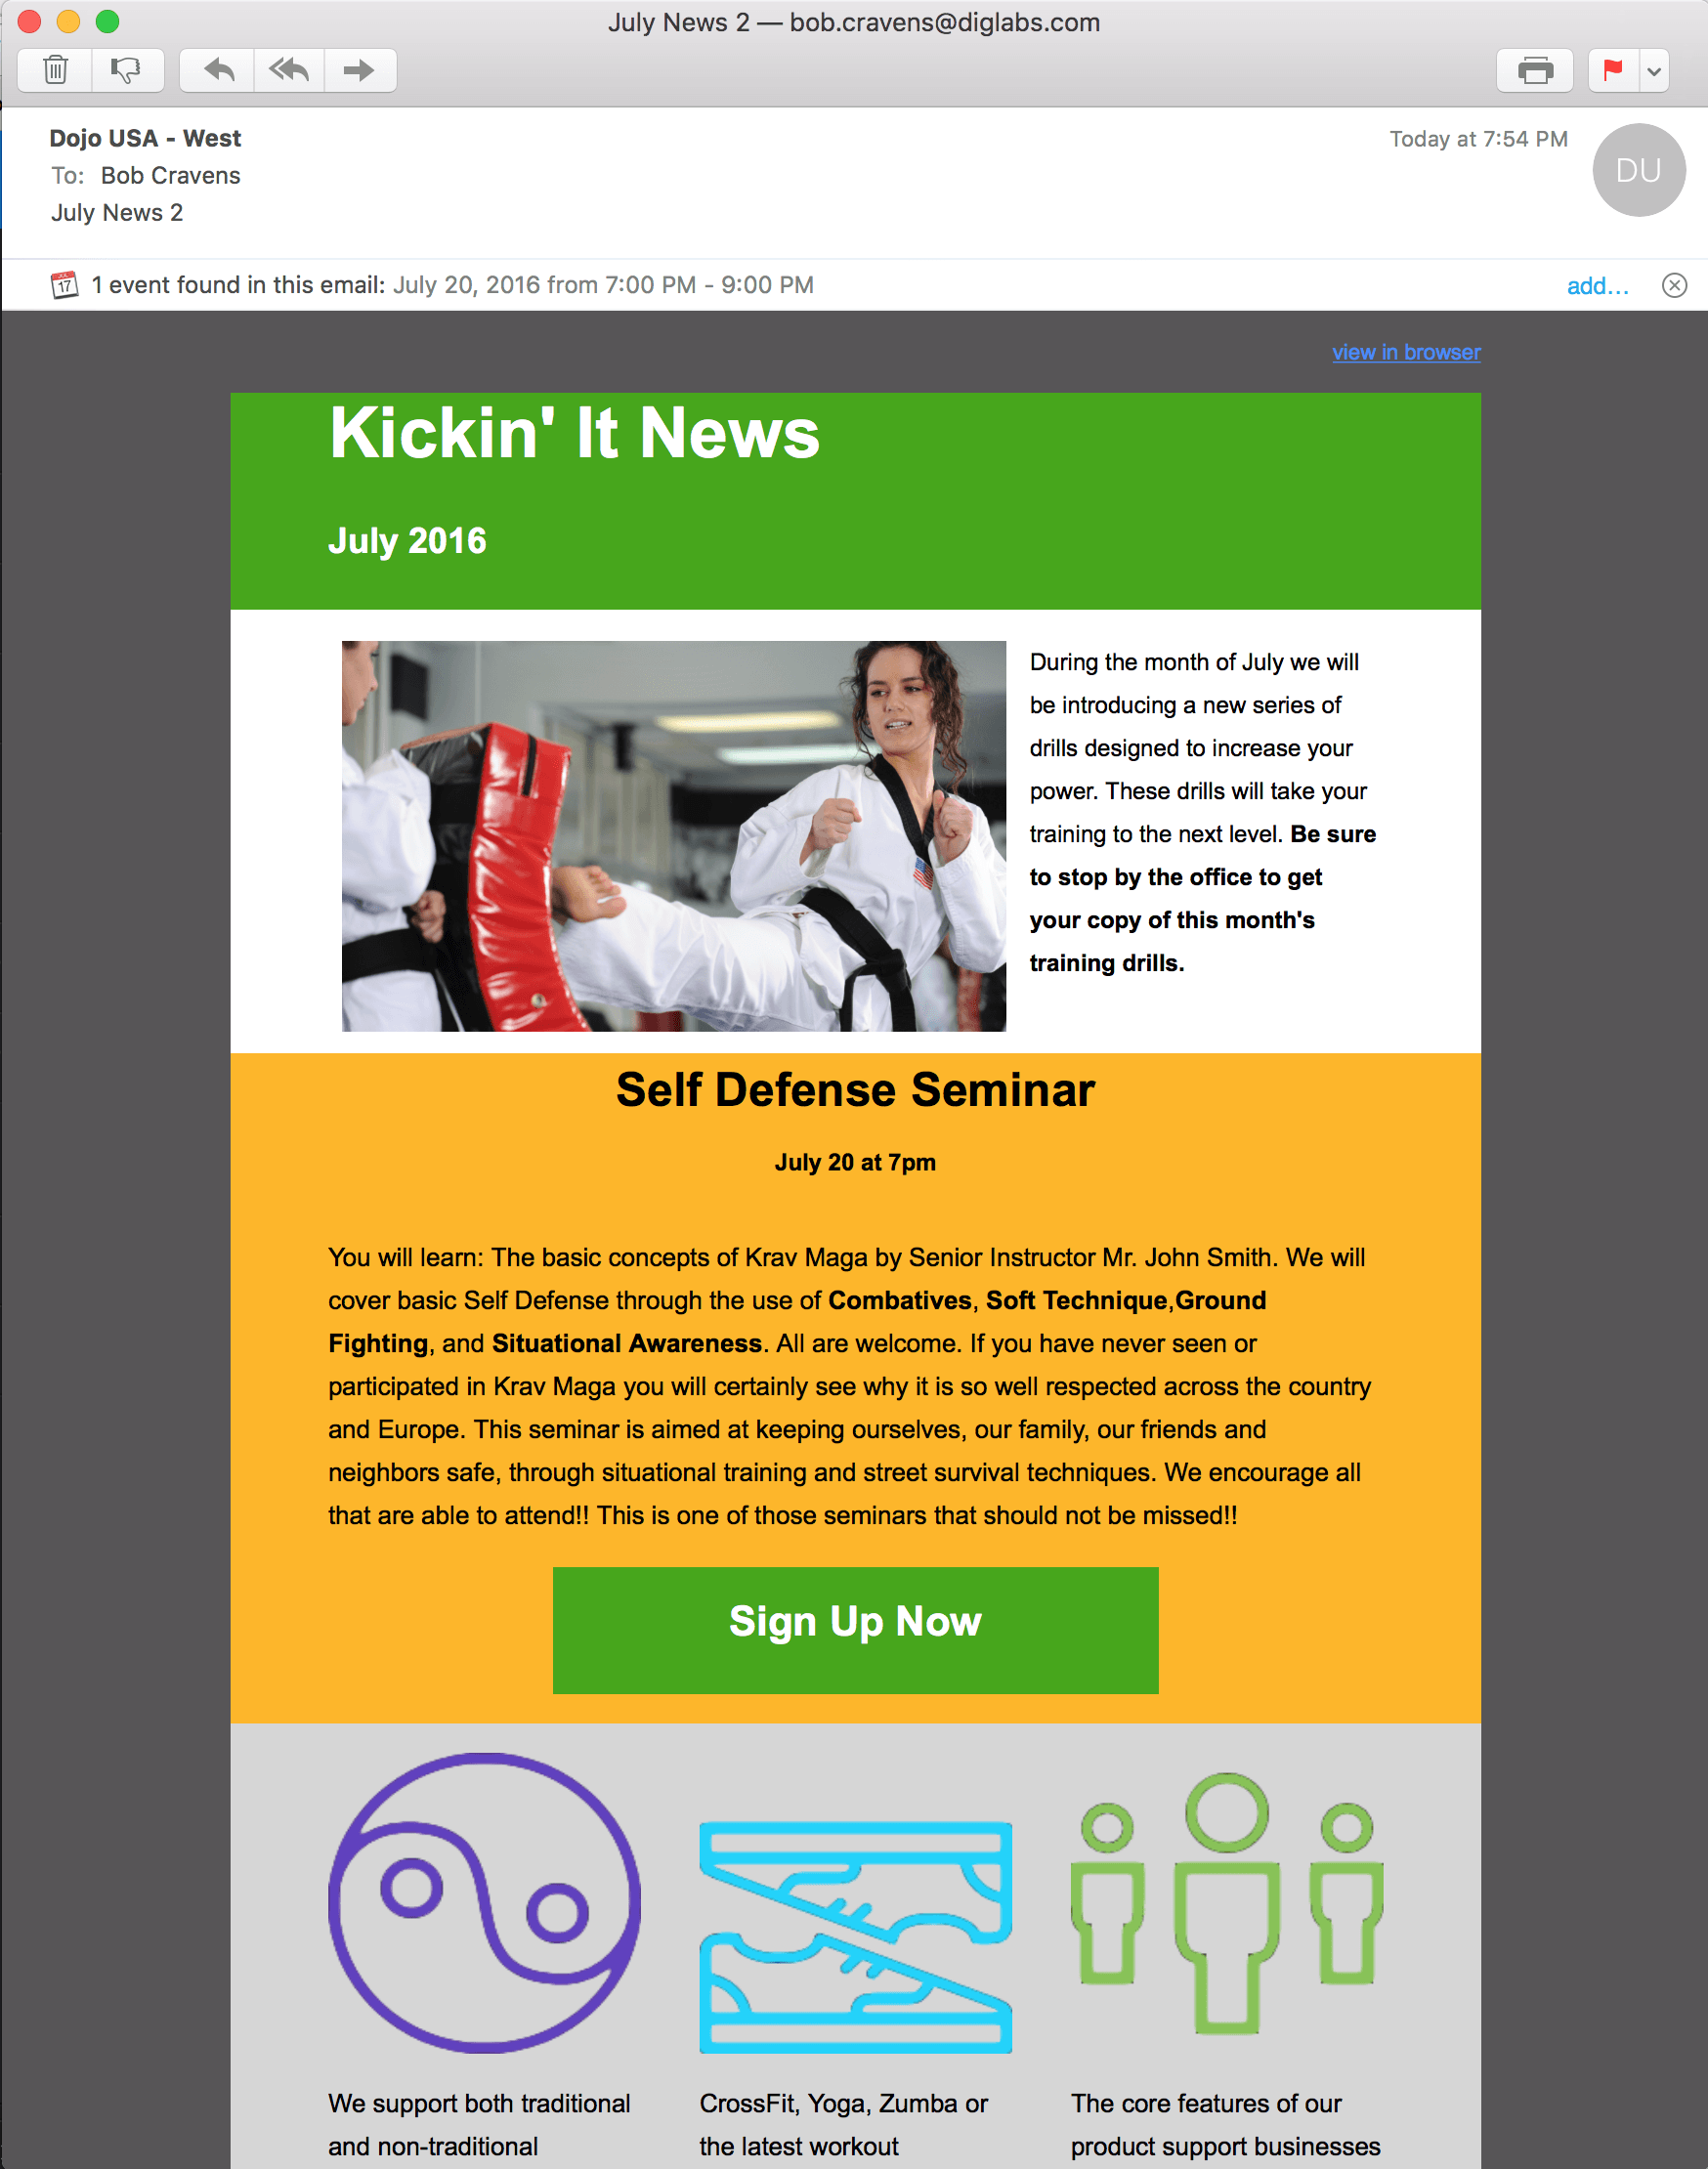
Creating newsletters, marketing emails, announcements and other sales emails is very easy using the new drag-n-drop email builder.
Any questions, let us know.
